USING SHRINK PLASTIC
First some basics. Shrink plastic is an acetate like material, it comes in sheets and in a variety of colours. You can cut it with scissors, punch it or cut with dies in die cutting machine. Once you have the shape you want, you heat it up with a heat gun. I did not sand any of the pieces I've made but for best results always follow manufacturer's instructions.
Below I've cut 4.5x4.5cm square piece of shrink plastic just for demonstration purposes.
Always make holes in shrink plastic BEFORE you apply heat. Otherwise the plastic will get too thick and you won't be able to punch it through.

I'm using an old box as otherwise the piece of shrink plastic I'm about to heat up will get blown away. Once you apply heat the shrink plastic will start warping and bending which is normal. The big shadow on the right is made by my heat gun. :)

It takes probably less than a minute for the process to finish.

Shrink plastic will shrink and get thicker.

Once it stops warping put an acrylic block on top to flatten the plastic - do not press the acrylic block down as it will leave marks on warm shrink plastic.
Now the pieces measures 2x2cm and is much thicker.

Below are some photos of what you could make from shrink plastic.
Here's a sun catcher.
First I stamped some flowers with Brilliance ink, next heated up the piece of shrink plastic. To finish off I painted the piece with glass paint. The bottom square piece is a piece of acetate.
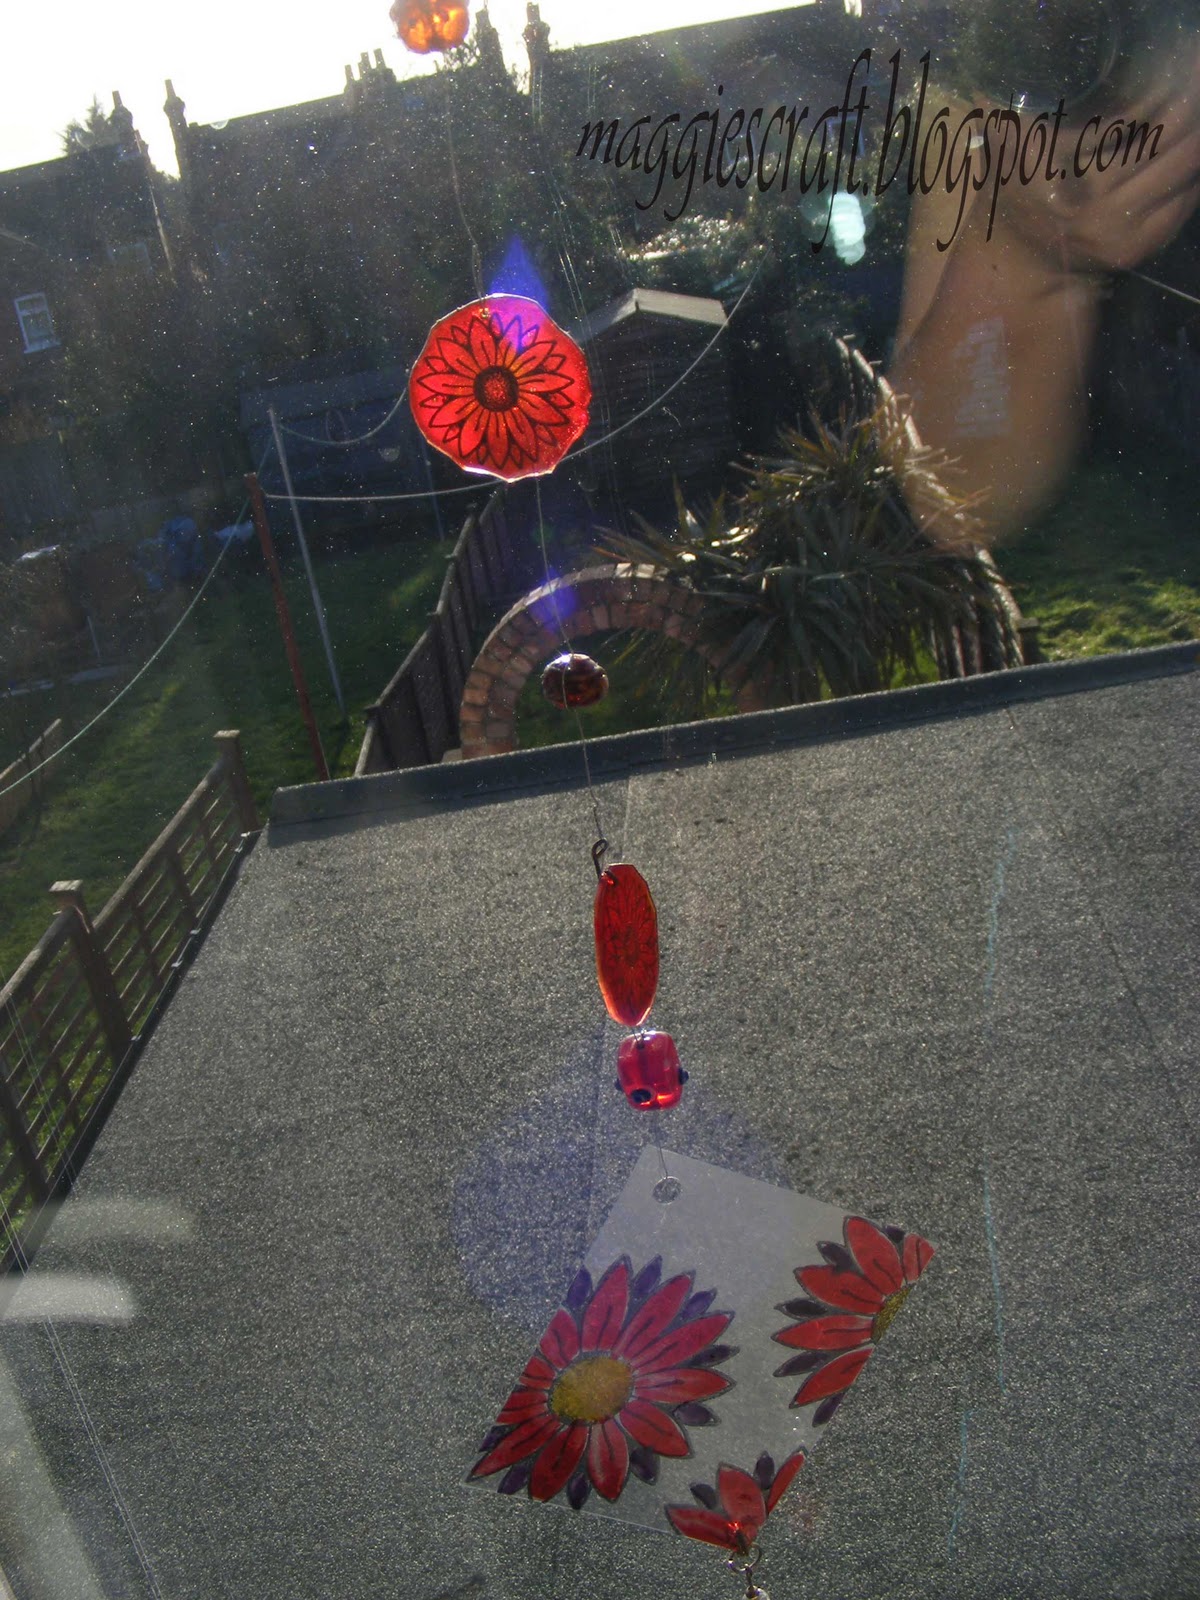
Close up of one of the pieces. One side is painted with yellow glass paint the other one with red.

Earrings - stamped the piece with flower stamp, inked edges with green Brilliance ink and rounded the corners. The earrings are a part of a jewellery set - brooch, bracelet and earrings.

Another set of earrings. Here the piece of shrink plastic was inked with silver Brilliance ink on one side and stamped with flower stamp on the other.

3 key rings - I used the scraps that I had left. Stamped them with different swirl stamps and cut with decorative scissors.

Jar embellished with some beads on jewellery wire and pieces of shrink plastic. The pieces were stamped with flower stamps. Here I used Translucent shrink plastic instead of Clear.

As I got carried away I made some buttons and other embellishments. :) I store them in a jar and use them whenever I need them. Santa is coloured with felt tip pens as they become permanent after shrinking. Also remember that colours become more vibrant when the shrinking process is done so be careful how much colour you apply. Chalks work brilliantly..


Have you been to my Etsy shop yet?
| craftypartofme |
