Showing posts with label Tutorial. Show all posts

Top Tip Tuesday


Hi everyone!
At Top Tip Tuesday we're having a THANK YOU challenge and it's my turn to show you how to make a Centre Step CardPop over and check it out, I'm sure you'll enjoy it!


Our sponsors:


Inky Impressions
 and

Dew Drop Craftz


Before I proceed with this weeks tutorial I want to tell you of a very important date...
***6th September***
...TTT 1st Birthday!
 We will be holding a Birthday Bash you won't want to miss!
We have some fantastic prizes up for grabs that week from Digi Images and Vouchers to Die Cuts and Goody Bags....in total about £200 worth! Mark it in your diary now!

Have you voted yet on what the Birthday Bash Challenge should be?
The last time I looked Easel Card was in the lead.....if you'd rather 'Recycle' or 'Anything but a Card' make sure you vote now as it is closing very soon! Pop over to Top Tip Tuesday blog to vote.


My tutorial:


I’ve prepared a tutorial on
How to Make a Centre Step Card.

You’ll need:
Piece of card measuring 6x9.5inch.
Scoring tool and scoring board – I’ve used a box maker by Crafter’s Companion
Craft Knife and a steel edge ruler

This is the box maker. The score lines are approx. 1inch apart.


 I’ve used a ‘Box Lid’ side of the box maker. Put your piece of card on the scoring board ‘right side’ down.


Score the second and the eight line from the left.


4th, 8th and 10th line from the left but make sure you DO NOT go from one edge to the other.


Using your craft knife and a steel edge ruler cut where it’s marked in RED.


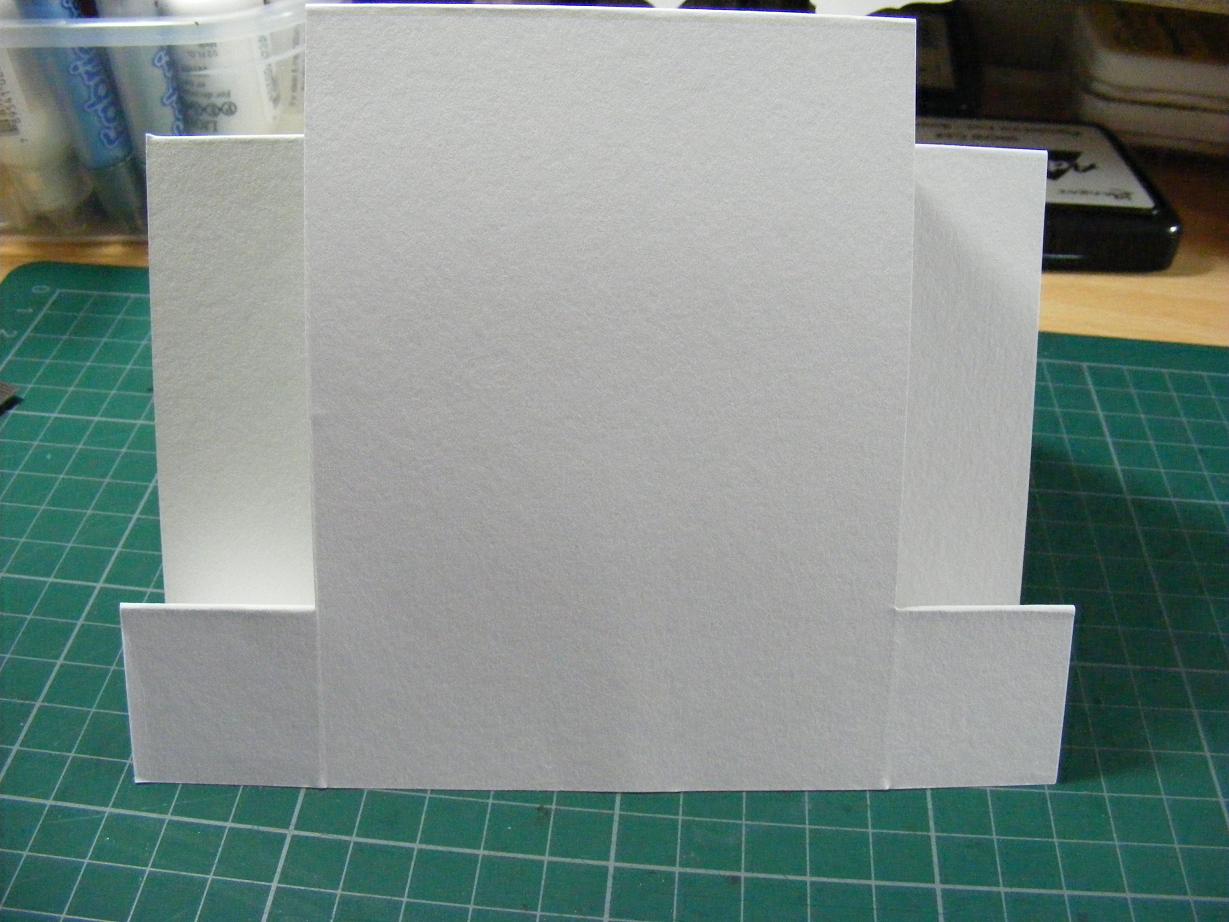
That’s what you should end up with after cutting. 


Turn the piece of card upside down. (The right side up!)


And fold where you can see score lines. The first set of score lines should be a mountain fold. 


The second a valley fold.


The remaining two mountain folds.


This is it! 


 My take on Thank You challenge:


I'd like to enter my card in the following challenges:


thecraftypartofme

Shrink Plastic Tutorial...

USING SHRINK PLASTIC


First some basics. Shrink plastic is an acetate like material, it comes in sheets and in a variety of colours. You can cut it with scissors, punch it or cut with dies in die cutting machine. Once you have the shape you want, you heat it up with a heat gun. I did not sand any of the pieces I've made but for best results always follow manufacturer's instructions.

Below I've cut 4.5x4.5cm square piece of shrink plastic just for demonstration purposes.


Always make holes in shrink plastic BEFORE you apply heat. Otherwise the plastic will get too thick and you won't be able to punch it through.


I'm using an old box as otherwise the piece of shrink plastic I'm about to heat up will get blown away. Once you apply heat the shrink plastic will start warping and bending which is normal. The big shadow on the right is made by my heat gun. :)


It takes probably less than a minute for the process to finish.

Shrink plastic will shrink and get thicker.

Once it stops warping put an acrylic block on top to flatten the plastic - do not press the acrylic block down as it will leave marks on warm shrink plastic.
Now the pieces measures 2x2cm and is much thicker.

Below are some photos of what you could make from shrink plastic.
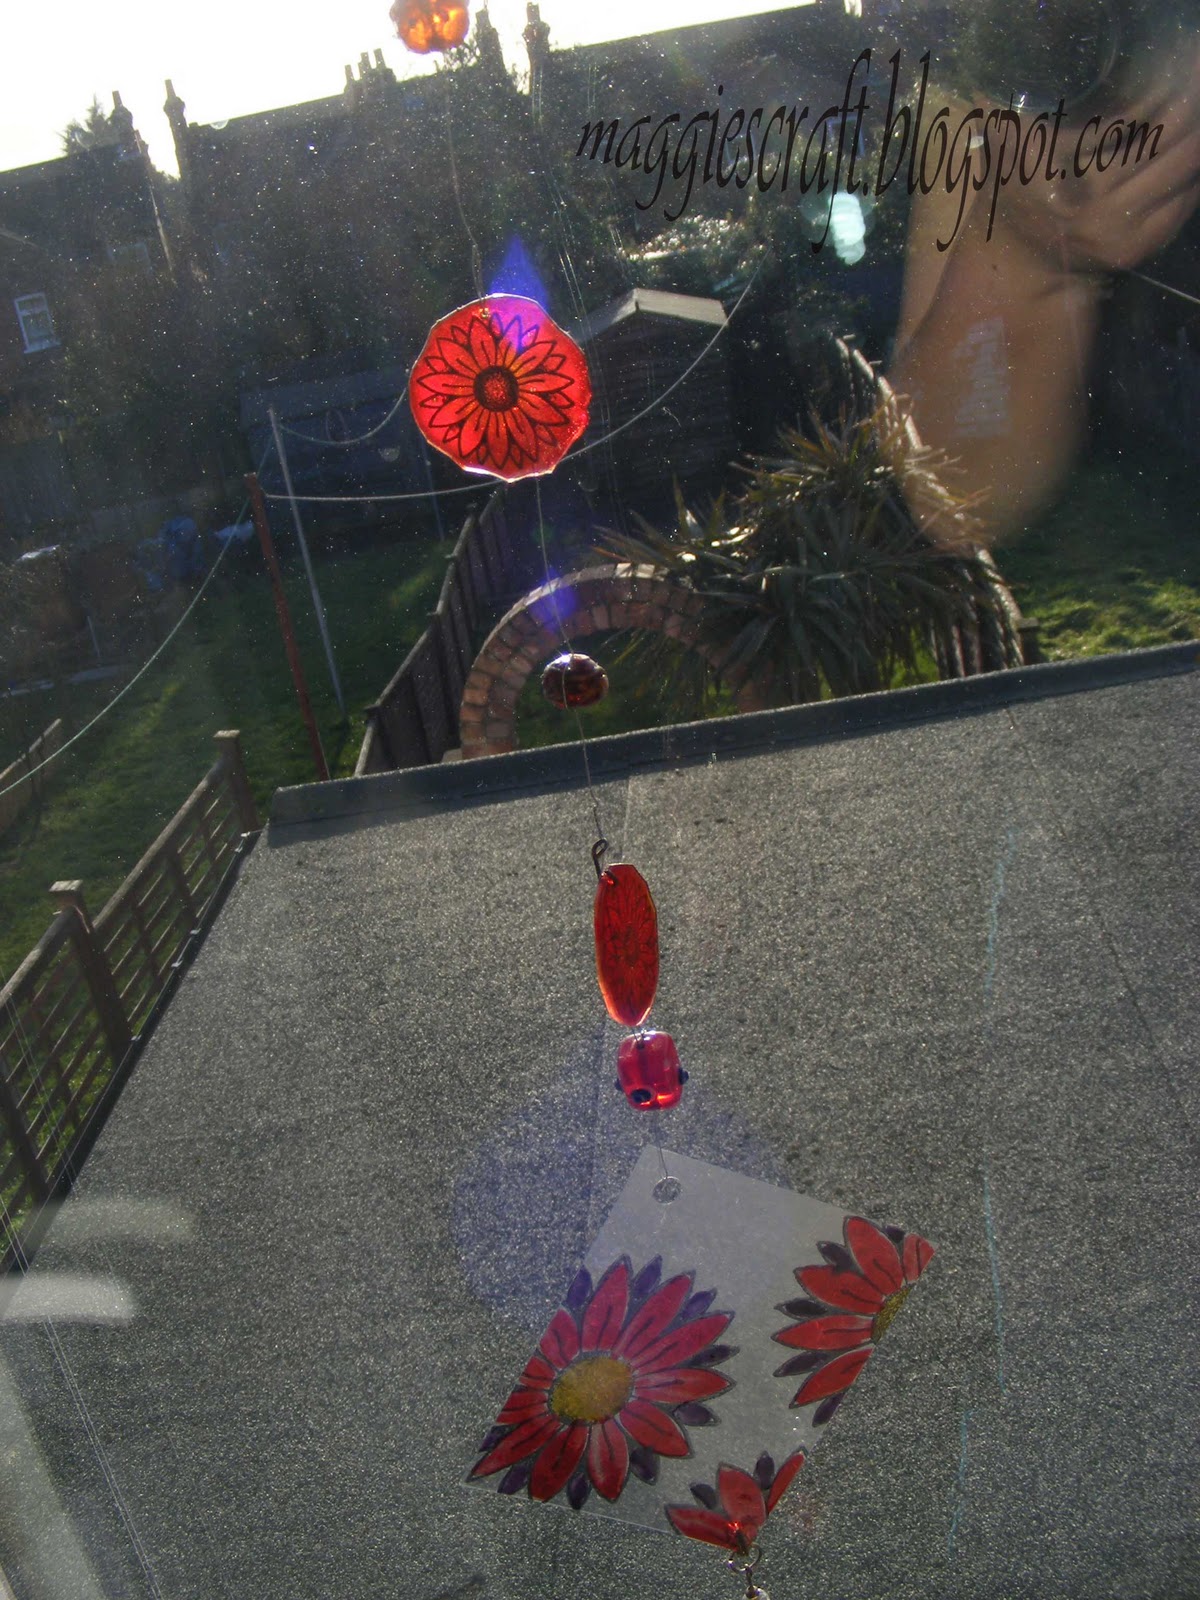
Here's a sun catcher.
First I stamped some flowers with Brilliance ink, next heated up the piece of shrink plastic. To finish off I painted the piece with glass paint. The bottom square piece is a piece of acetate.

Close up of one of the pieces. One side is painted with yellow glass paint the other one with red.

Earrings - stamped the piece with flower stamp, inked edges with green Brilliance ink and rounded the corners. The earrings are a part of a jewellery set - brooch, bracelet and earrings.

Another set of earrings. Here the piece of shrink plastic was inked with silver Brilliance ink on one side and stamped with flower stamp on the other.

3 key rings - I used the scraps that I had left. Stamped them with different swirl stamps and cut with decorative scissors.

Jar embellished with some beads on jewellery wire and pieces of shrink plastic. The pieces were stamped with flower stamps. Here I used Translucent shrink plastic instead of Clear.

As I got carried away I made some buttons and other embellishments. :) I store them in a jar and use them whenever I need them. Santa is coloured with felt tip pens as they become permanent after shrinking. Also remember that colours become more vibrant when the shrinking process is done so be careful how much colour you apply. Chalks work brilliantly..

Have you been to my Etsy shop yet?

craftypartofme


WOYWW! :)

Hi everyone!

On my desk today...

bought some scrap pieces of lace for 75p in a craft shop in Ipswich. Scrap pieces measuring 3 meters each! :)


Envelope maker proved to be one of those things where you think 
'How did I cope without it???'


Another bargain from Poundland...

From this...


...to this. 
Ink them and squeeze them to make the petals a bit more compact.


Use one of these punches to make leaves and done! :)


Cheap but beautiful. :)

P.S.
Have you been to my Etsy shop yet?


WOYWW! :)

Hi everyone!

First another bargain and a reminder about flower tutorial. 

I've found these pearls in Primark. They cost £1 and you get loads of them. 


You can use them to embellish this beauty... 


I spent one evening watching telly and making roses so now have loads of them in different colours. They are made with textured card and sprayed with home made glimmer mists. How to make glimmer mist at home click here


Stick the pearls with glitter glue to add even more sparkle.


A tutorial for this rose is here. You can use Craft Stamper free stamp from March issue. It's just perfect for this technique. 


Craft Stamper Magazine
In my craft room today... I moved furniture around, again. :) Now all my papers and card are in one place.


On my desk... Will have some crafty time later today.:)


Pop over to Pixie Dust Paperie to join their candy.
Candy!!!


Want to know more about WYOWW? Pop over to Julia's blog. :)

Pop in and have a look...